How to set up Paytrail Payment Gateway
This doc describes how to setup the Paytrail Payment Gateway add-on for Easy Digital Downloads. Note that Paytrail add-on only works with EDD version 1.9+. In order to use the Paytrail extension, you must first have a Paytrail account.
Once you have purchased the Paytrail Payment Gateway, install it just like any other WordPress plugin. After it is installed and activated, there are couple of things you need to do.
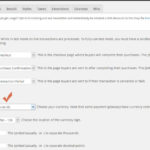
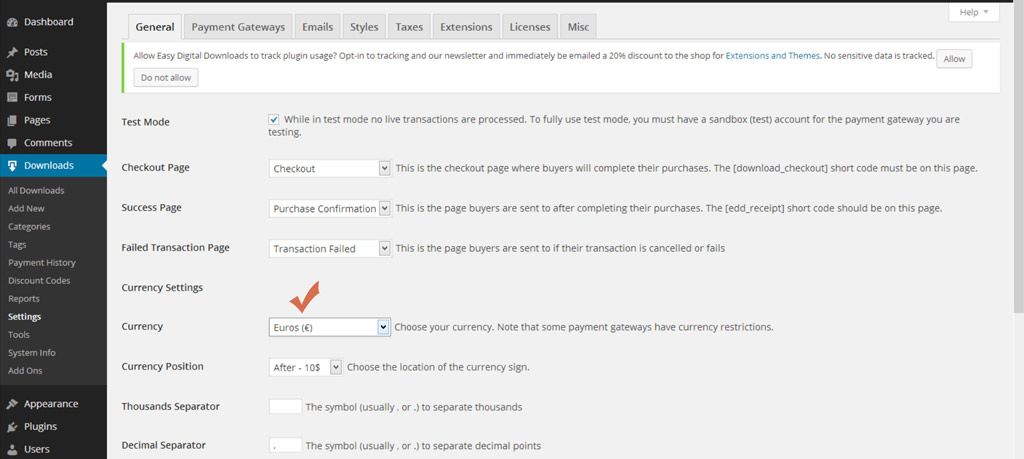
Currency to euros
Go to Downloads > Settings > General, and change currency to euros. For now Paytrail only accepts euros:
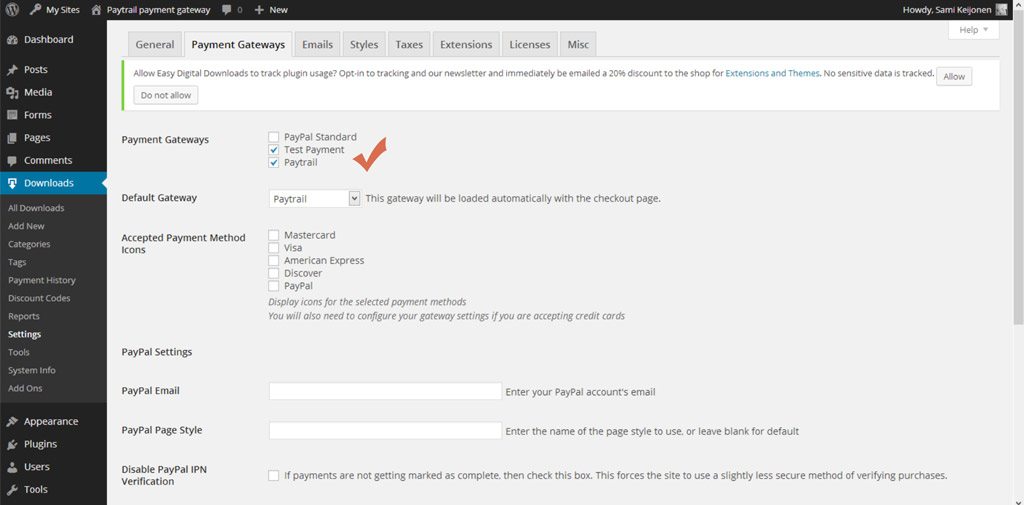
Enable Paytrail Gateway
Go to Downloads > Settings > Payment Gateways, and enable Paytrail gateway:
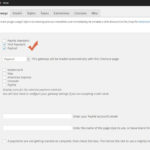
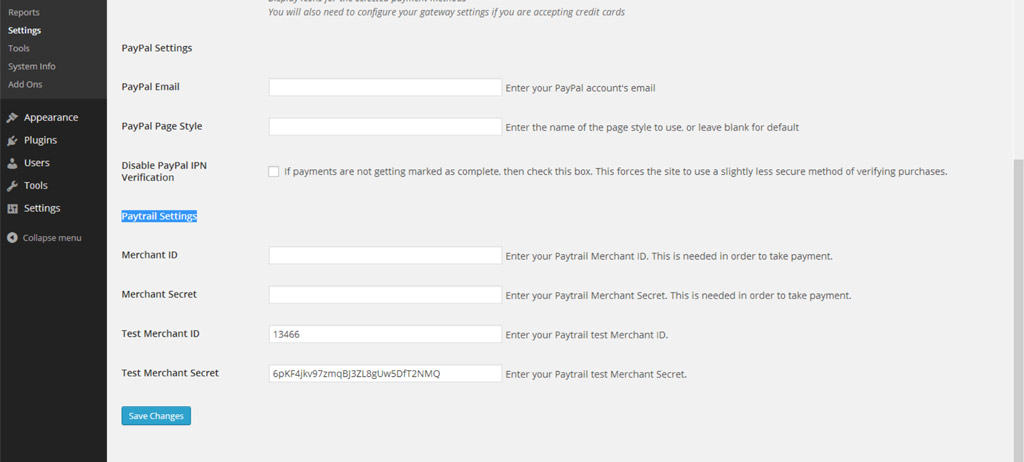
Enter Merchant ID and Merchant Secret
Go to Downloads > Settings > Payment Gateways and enter Merchant ID and Merchant Secret under Paytrail Settings. You get those from your Paytrail account. You can also use test ID and test Secret when EDD is in test mode. Remember to save changes.
Paytrail Settings
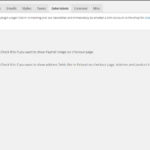
Go to Downloads > Settings > Extensions, and there are couple of extra settings for Paytrail.
- You can select if you want to show Paytrail image at the checkout page.
- You can select if you want to show address fields like it use to be in Finland. This also means that extra info is sent to your Paytrail account: name, address and price.

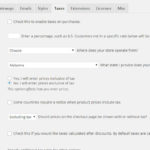
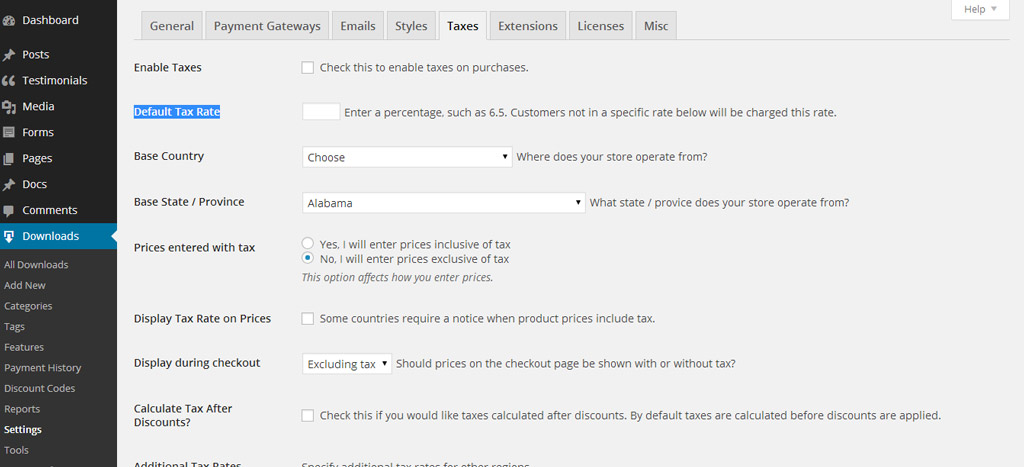
Tax rate
When Show finnish address is selected Paytrail account require tax rate. Default is 24% even if you don’t show taxes on your shop. You can change default tax rate under Go to Downloads > Settings > Taxes.
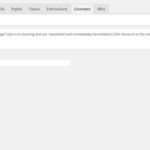
Enable License
Go to Downloads > Settings > Licenses, and there you can enable your license:
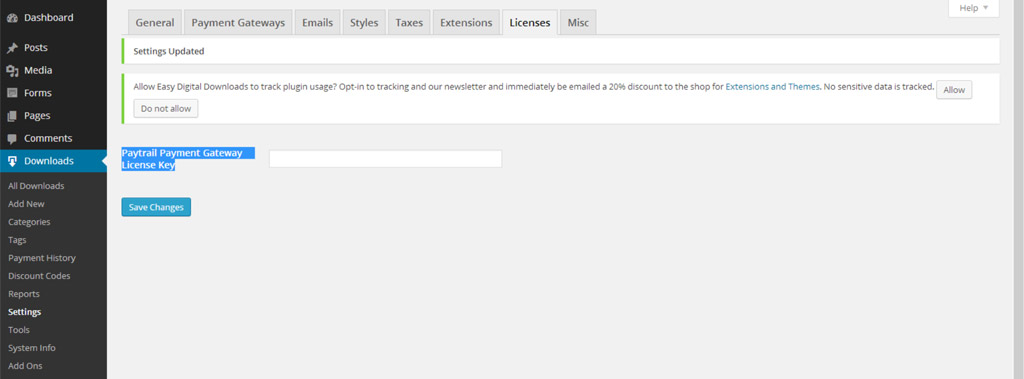
After you have Saved Changes you should see Deactivate License button next to license key field. This means everything is ok and you get automatic updated in your admin.
Gallery
Here are the same images in gallery format.